If you’re like me who still ogle at a fellow scrapper with a Crop-A-Dile or who wouldn’t want to bother with hammering to add an eyelet to your project, you may want to try making use of faux eyelets. They’re easier & less expensive to make. You can still continue creating wonderful projects while saving up for those covetable wonder tools. You just need your trusty Craft Pick to get the show on the road. Below is a brief tutorial:
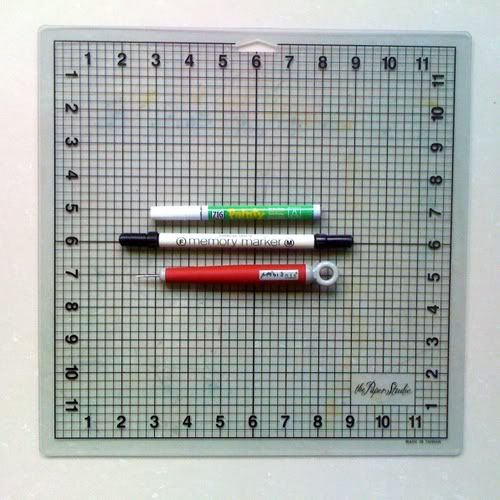
Materials Needed:
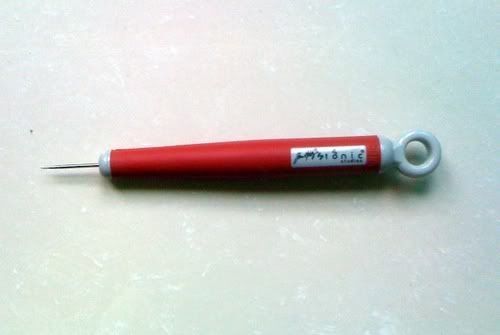
Craft Pick
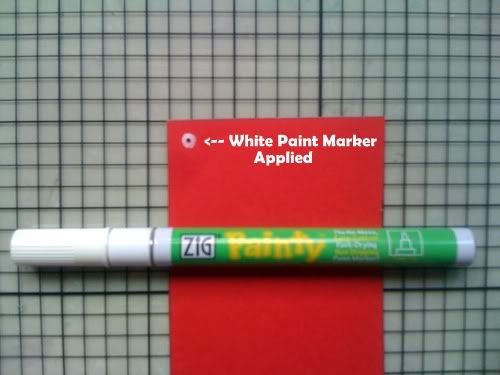
Marker - Black Pen or White Paint Pen (You can also make use of wonderful colored gel pens)
Craft Mat
Instructions:
1. Using White Paint Pen:
a. Prepare your materials (your craft mat, white paint pen & craft pick)
b. Place your cardstock on your craft mat with your craft pick. I chose plain red cardstock for this tutorial. (You can use any colored cardstock. I’d suggest you make use of plain, solid-colored cardstock & not pattern paper. This would make your faux eyelet more visible.)
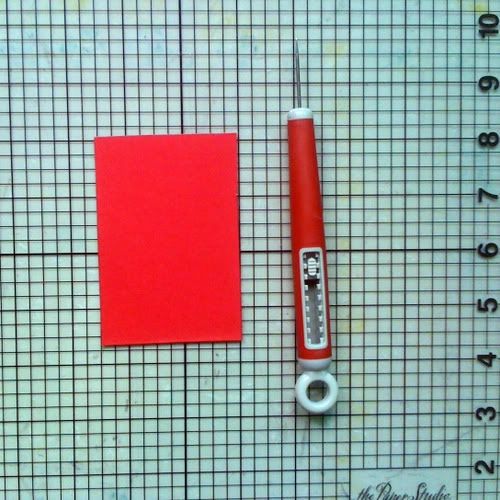
c. Pierce your cardstock on the corner – make sure that it’s not so near the corner edge to allot space for your white paint marker. (You have to gauge how big you want the diameter of the tip of your craft pick to go through your cardstock. It depends upon how big or how small you want your pierced hole to be.)
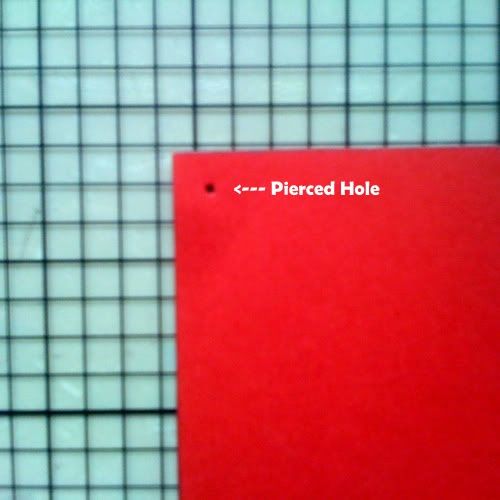
d. After piercing the corner of your cardstock, draw around the pierced hole with your white paint marker. (Make sure that it is a perfect circle or the closest you can get to a perfect circle with your paint marker.)
e. If the pierced hole seems to close at a glance, pierce it again with your craft pick. This is the closest you can get to an eyelet.
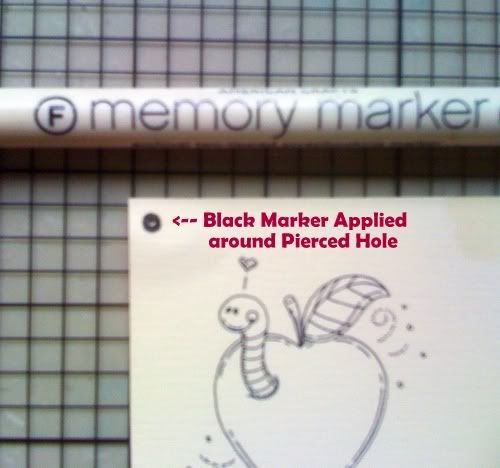
2. Using Black Marker:
a. Prepare your materials (your craft mat, black marker & craft pick)
b. Place your cardstock on your craft mat with your craft pick. I chose light plain cardstock with the digital image already printed on the center for a card I previously created. (I chose light colored cardstock since I plan to make use of my black marker for the faux eyelet.)
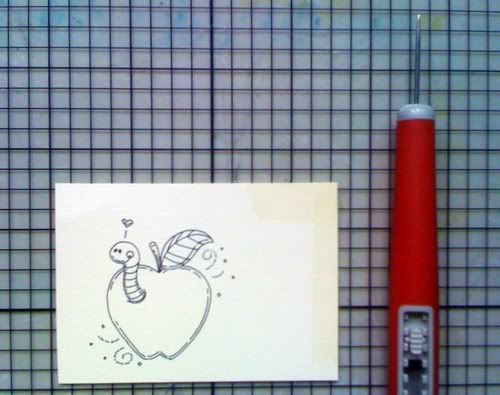
c. Pierce your cardstock on the corner. Careful not to pierce near the corner edge. I wanted a bigger hole so I pushed my craft pick till the end.
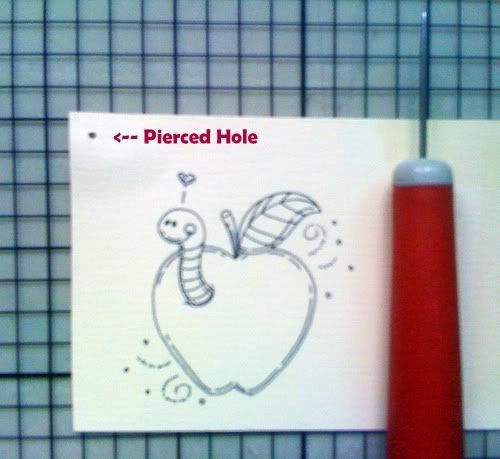
d. After piercing, draw around the pierced hole with your black marker – as close to a perfect circle as can be.
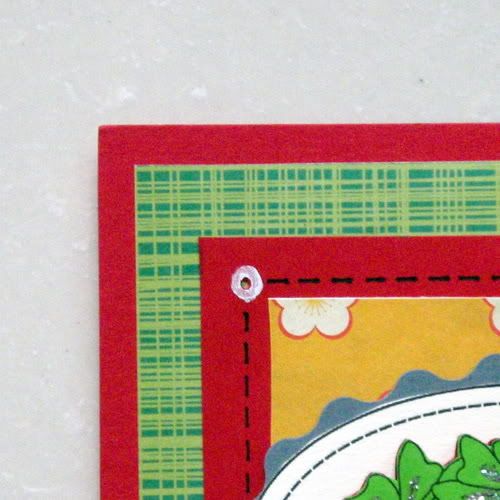
e. Finished with (1) corner, repeat the procedure to the other (3) corners until the (4) corners of your cardstock has faux eyelets.

f. The finished card:

I LOVE this tutorial, Kath! I don't "do" eyelets, either but love the way they look. I'll be trying this!
ReplyDelete